STARTING OUT WITH REACT.JS AS A NEWBIE How to Create a Counter in React JS

Confidence is a technology enthusiast, passionate about learning the trends the tech world is taking so that he can build better, fast and efficient tools to help solve problems now, or in the future. He is currently doing that with JavaScript and React.js. My skills are mainly focused on front end development as I am passionate about using my creative side to do things with ease.

This is a very beginner-friendly tutorial. In this walk through, you will learn how to create a simple counter in a React JS functional component. Simple projects like these are very useful in strengthening your React skills and it helps you to navigate your way around the react environment.
Create a New React App
Create a new React app using the following command:
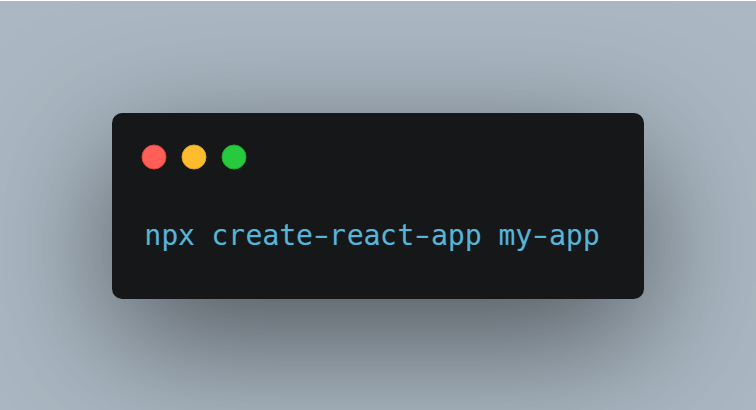
my-app means the name you have given the folder containing all your components and dependencies.
To start the local server or run the app, use the following command:
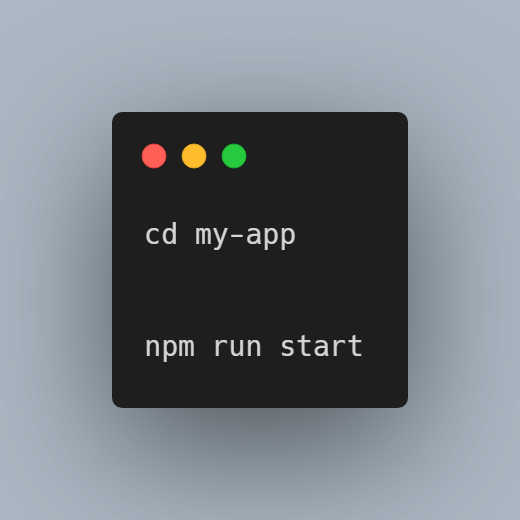
cd my-app: means that you want to navigate to the folder you are going to work with which is "my-app".
Then;
npm run start: To start the local serve.
Next, open the app.js file and remove all the code present. We will write our counter code here.
Get Started
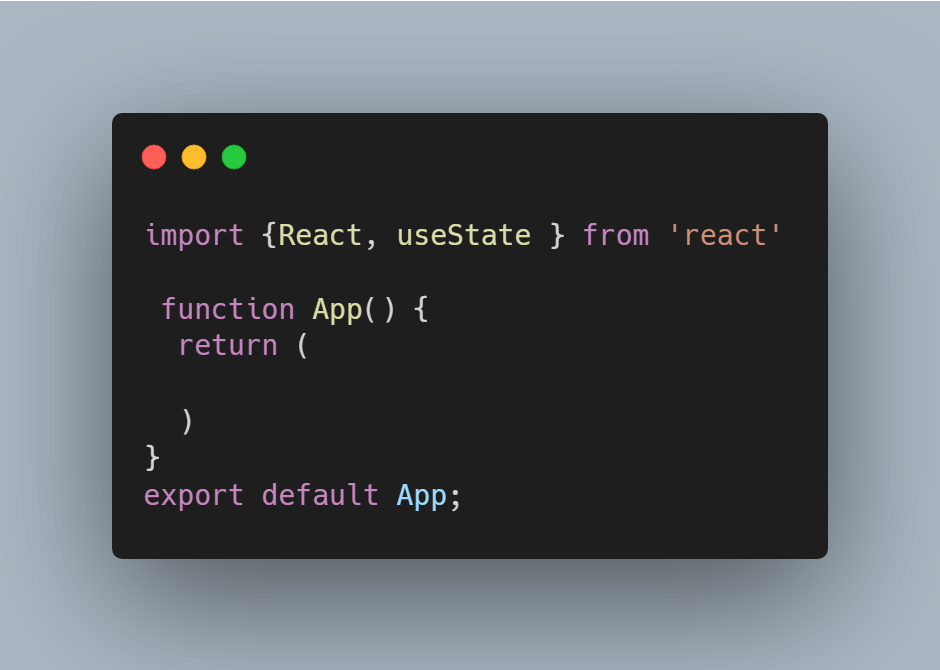
Now we will create a simple functional component in the app.js page and also import the useState hook. Add the following code inside the file:
First, what is useState?
The React useState Hook allows us to track state in a function component.
State generally refers to data or properties that need to be tracking in an application.
Import useState
To use the useState Hook, we first need to import it into our component.
Create HTML Elements
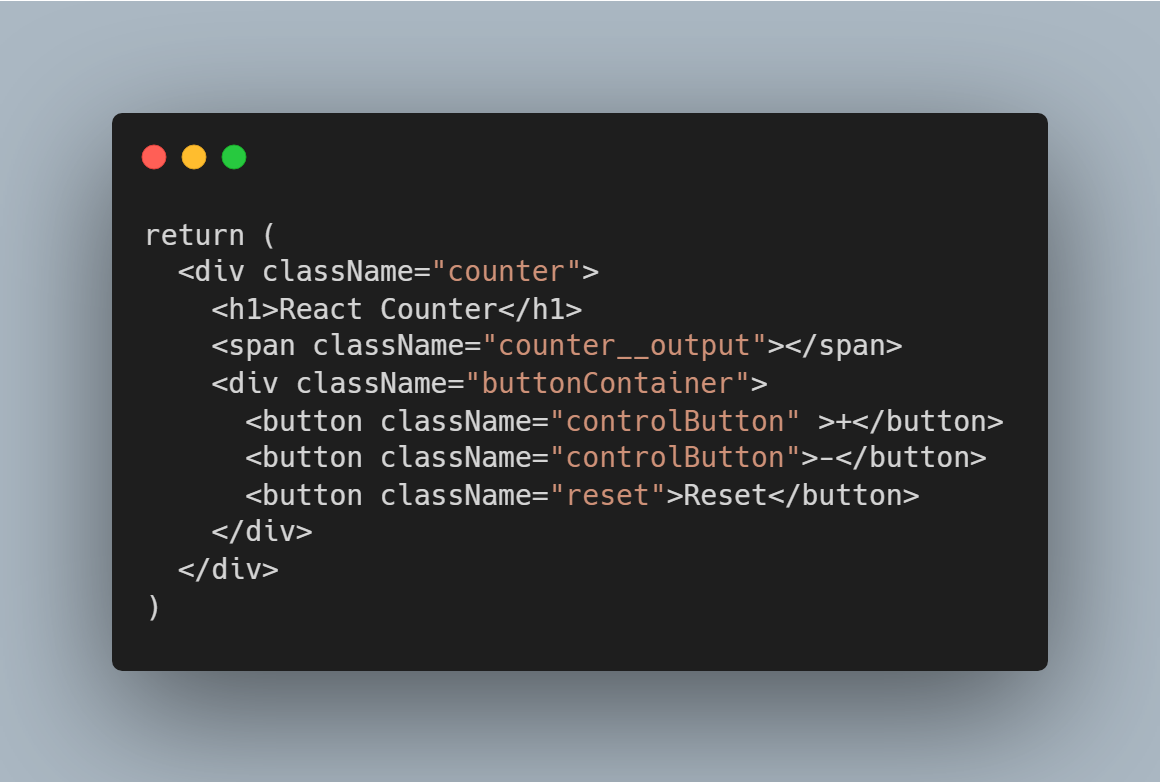
Now inside the return() we will create the HTML code for the form. The styling will be done later. We need to create two buttons and a span tag to show the output. There will be three buttons: +Add, -Sub and reset. Add the following code within the app.js file inside the return() function:
Create States and Functions
Now we will create a state called counter that will store the counter value. The state will be initially set to 0. Every time user will click either on +Add or -Sub, the value will change. The value will be displayed in the span tag. There will be three functions used to control the value.
increase - this will increment the value decrease - this will decrement reset - to reset the counter back to zero.
import { React, useState } from 'react'

export default function App() {
  const [counter, setCounter] = useState(0);

  //increase counter
  const increase = () => {
    setCounter(count => count + 1);
  };

  //decrease counter
  const decrease = () => {
    setCounter(count => count - 1);
  };

  //reset counter
  const reset = () =>{
    setCounter(0)
  }

  return (
    <div className="counter">
      <h1>React Counter</h1>
      <span className="counter__output">{counter}</span>
      <div className="buttonContainer">
        <button className="controlButton" onClick={increase}>+Add</button>
        <button className="controlButton" onClick={decrease}>-Sub</button>
        <button className="reset" onClick={reset}>Reset</button>
      </div>
    </div>
  );
}
code snippet
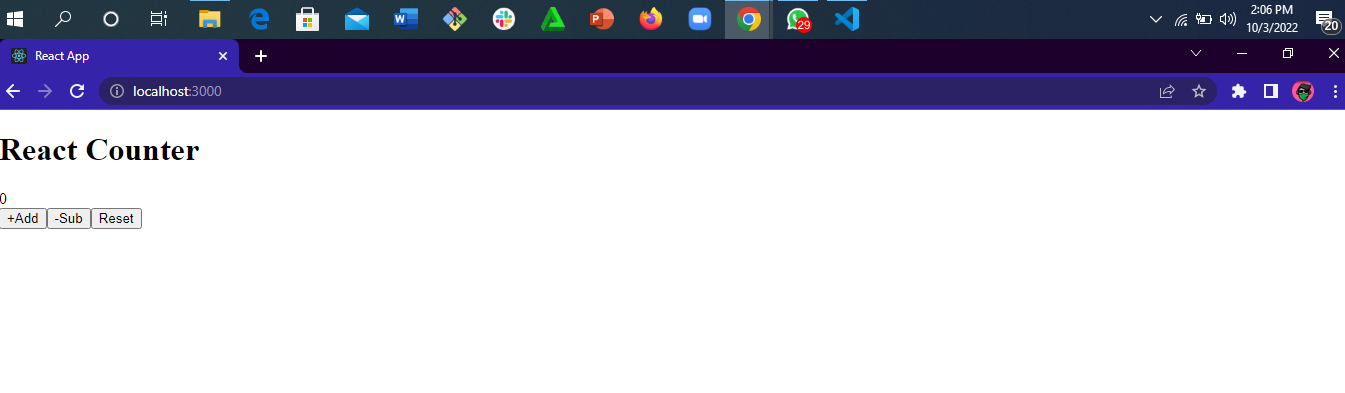
In the above code, we change the value of the state using setCounter(). To display the result, we use {counter} inside the span. On click events are added to each button containing the corresponding functions.
Output before styling with css
STYLING THE BUTTONS WITH CSS
Right now, the counter is completely functional, but it looks terrible. Now we will do some CSS to style it.
Create a new file called Style.css (if it is not already create by default) and add the following code:
.counter {
    width: 100%;
    display: flex;
    align-items: center;
    flex-direction: column;
    text-align: center;
    row-gap: 20px;
}

.counter h1 {
    color: rgb(16, 0, 54);
    font-size: 40px;
    font-family: cursive;
}

.counter__output {
    font-size: 40px;
    color: rgb(116, 7, 7);
}

.buttonContainer {
    display: flex;
    justify-content: center;
    flex-direction: row;
    column-gap: 20px;
}

.controlContainer {
    font-size: 20px;
    padding: 10px 20px;
    background-color: transparent;
    color: rgb(16, 0, 54);
    border: 1px solid rgb(16, 0, 54);
    cursor: pointer;
    transition: 0.2s ease-in-out;
}

.controlButton:hover {
    background-color: rgb(16, 0, 54);
    color: rgb(255, 255, 255);
    border: 1px solid rgb(16, 0, 54);
}

.reset {
    width: 100px;
    font-size: 18px;
    padding: 10px 20px;
    background-color: transparent;
    color: rgb(16, 0, 54);
    border: 1px solid rgb(16, 0, 54);
    cursor: pointer;
    transition: 0.2s ease-in-out;
}

.reset:hover {
    background-color: rgb(16, 0, 54);
    color: rgb(255, 255, 255);
    border: 1px solid rgb(16, 0, 54);
}
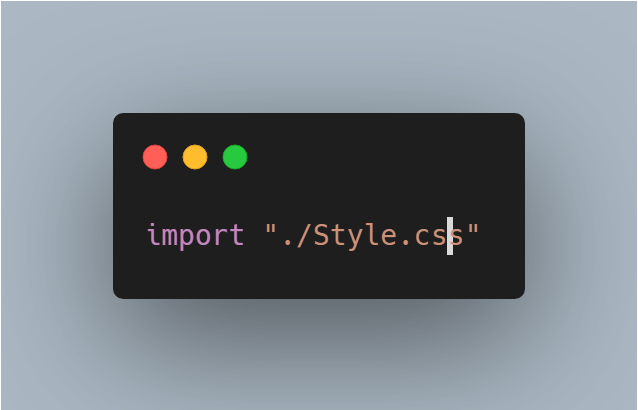
Now import this CSS to the app.js file using the following code.
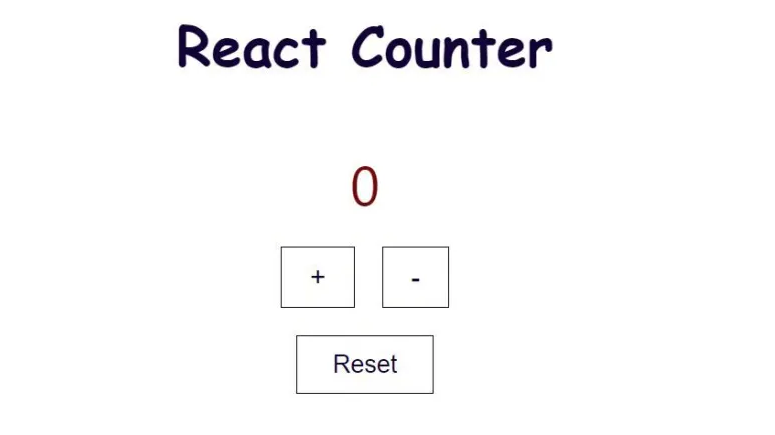
The Final Output
Below is an image of the browser view of this app. As you can see, it looks good visually and is also functional.
Conclusion
Constant Practice strengthens your fingers.


