

What is NVM?
Node Version Manager (NVM), is a tool for managing Node versions on your device. It helps to switch between Node.js versions while also allowing you to work with multiple NPM versions. It is easy to use. and it supports operating systems like, Linux, macOS, Windows.
Why you need NVM
Different projects on your device may be using different versions of Node. Using only one version i.e the node you installed using npm for every project may not give you accurate execution result and it may lead to node errors on your terminal.

Example, when your current project node version is 12.1.0 and the node version in your local machine is 16.1.0 you must get a warning message telling you that the project requires a specific version of node.
So, in order to avoid npm uninstall node.js version and installing the version that could suit your current project. You can use nvm, which helps you effectively manage your node versions for each project.
NVM allows you to install different versions of Node, and switch between these versions depending on the project that you're working on via the command line.
How to Install NVM
In this article, we will learn how to install NVM for Windows with the following steps bellow:
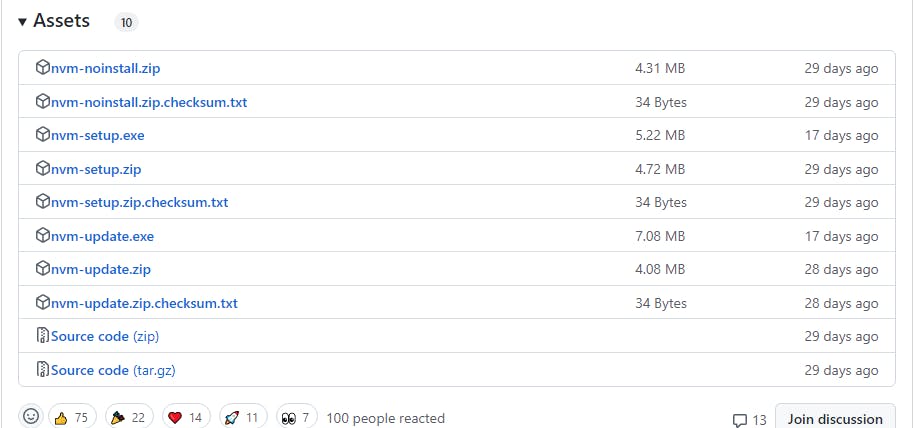
Step 1: Download the nvm-setup.zip from the assets table located over here. Unzip/Extract the contents then select nvm-setup.
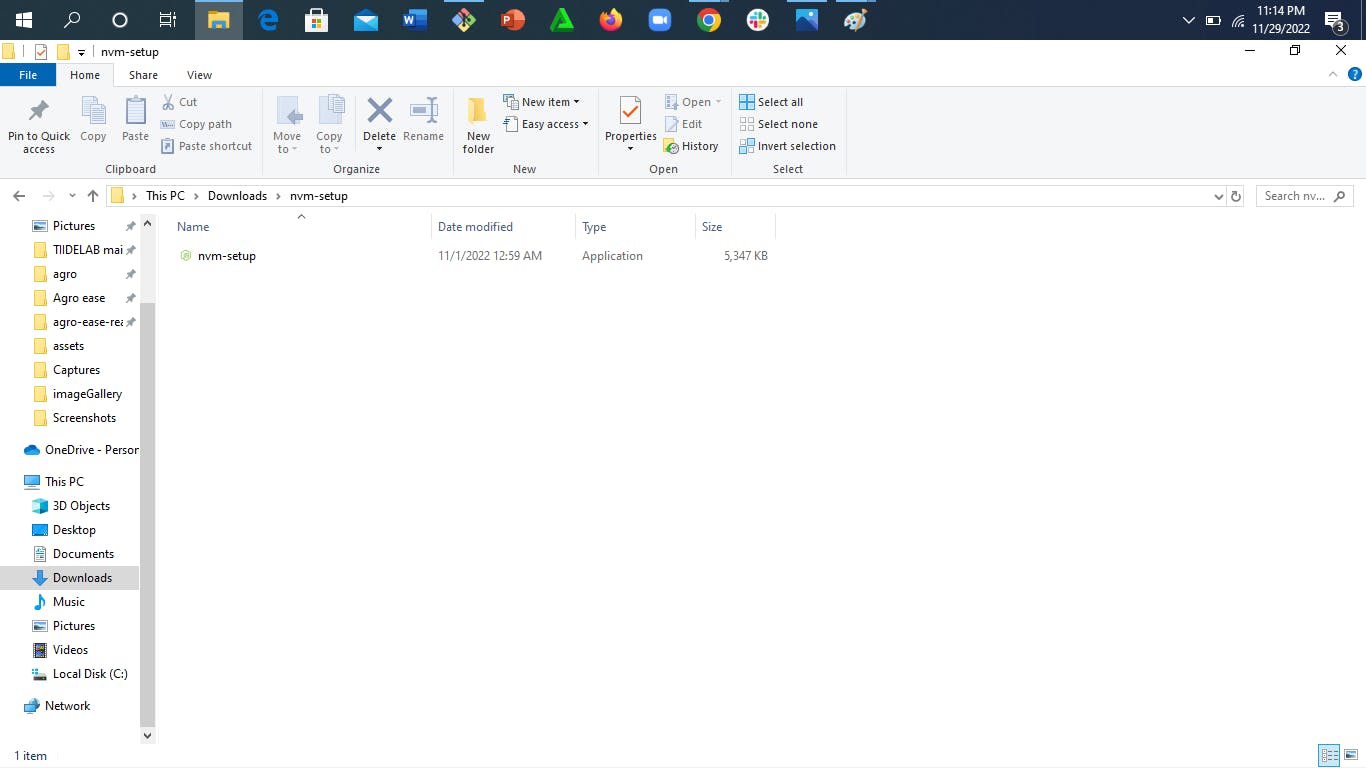
Step 2: In the nvm-setup folder, double-click on the file named nvm-setup.exe as shown below.
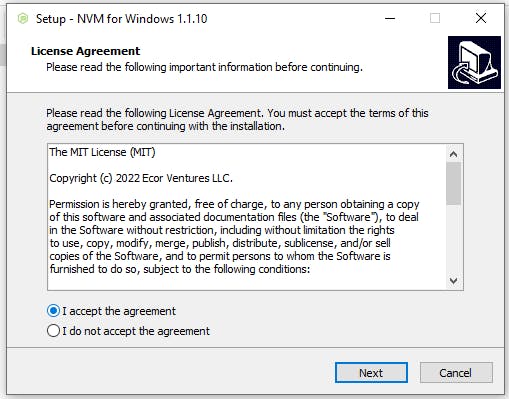
Step 3: Choose the I accept the agreement option and click on Next to proceed further with the installation.
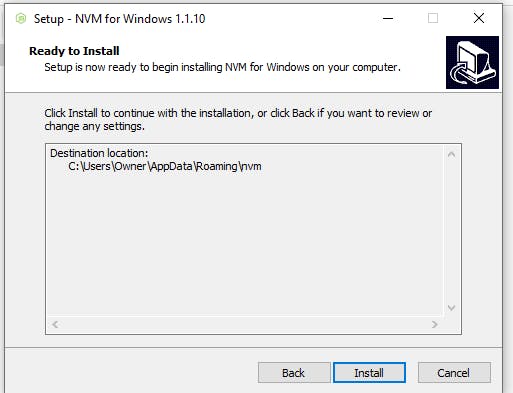
Step 4: Now, select the destination to install and click on Next.

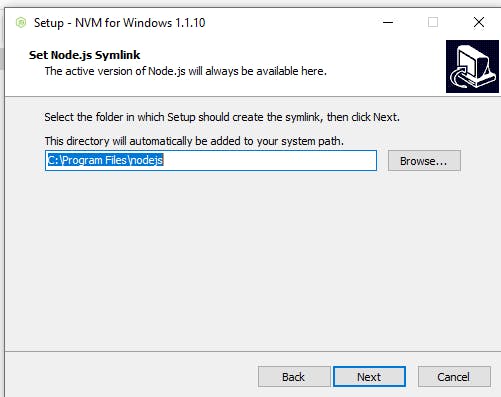
Step 5: Select the folder in which setup should create the Node.js symlink, then click Next.
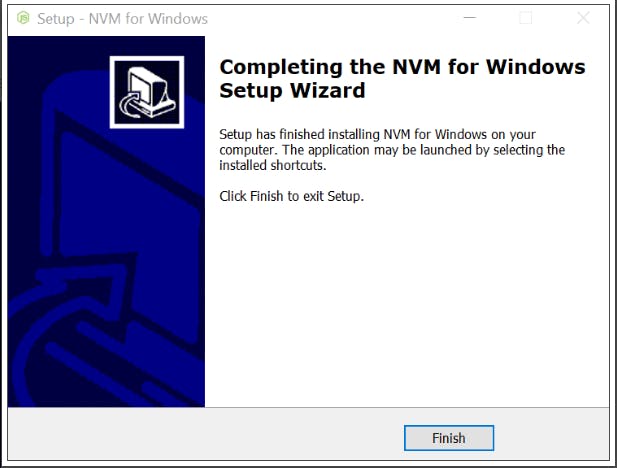
Step 6: Click on the Install button and once it completes, click on the Finish button.
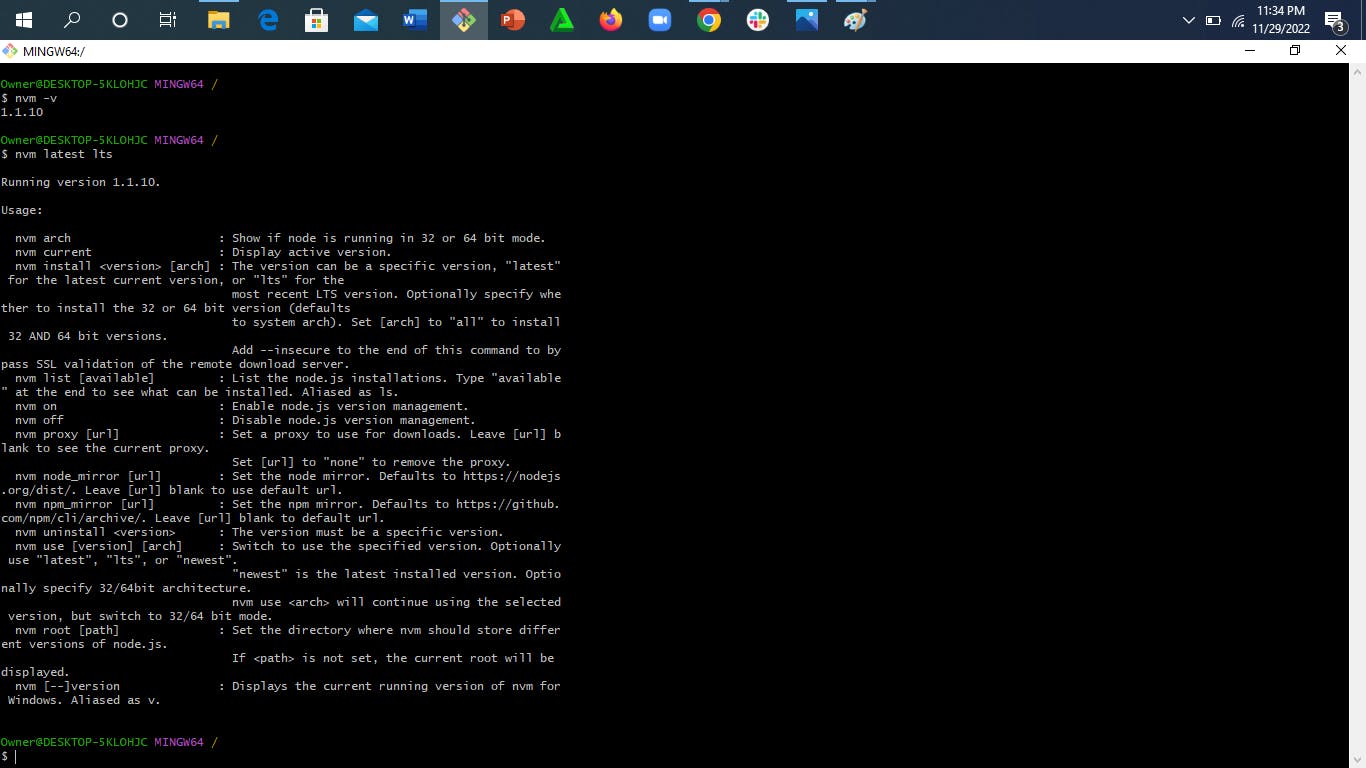
Step 7: Confirm NVM is installed successfully by typing the following command in the terminal
nvm -v
Output: If nvm was installed correctly, this command will show you the nvm version installed. In my case I am using version 1.1.10
Secondly to know the latest version of nvm you are using, run the following command
nvm latest lts
Final Output
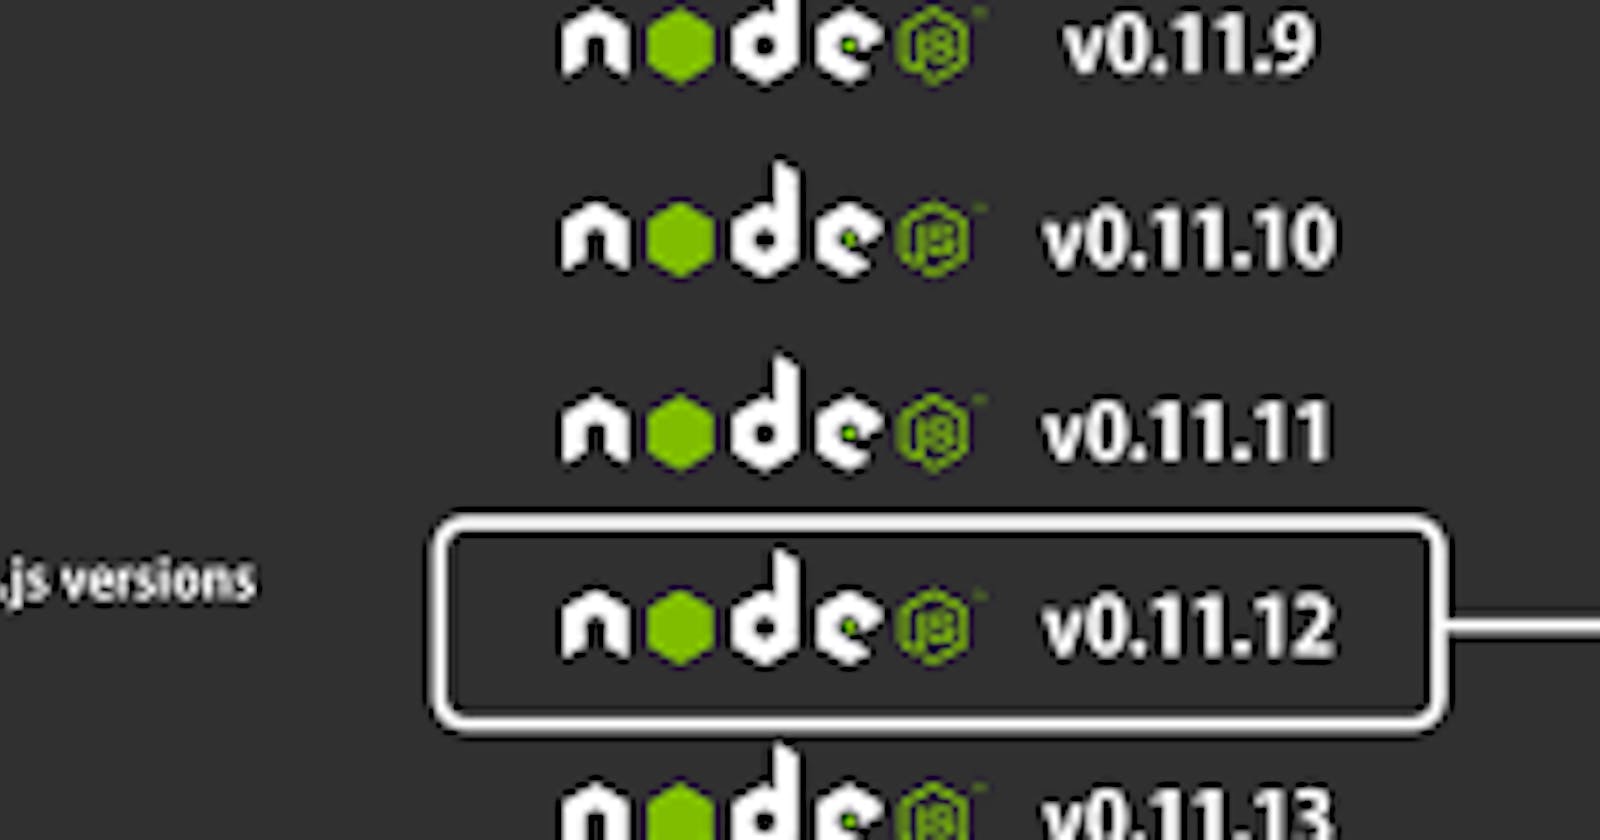
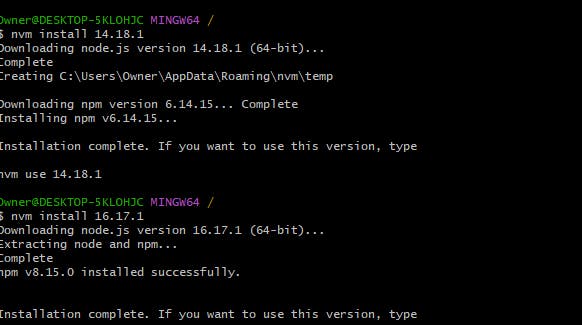
How to Install Different Node.js Versions
To Install all the node versions you want to install use the following command depending on the version/versions of node you want install. Bellow is a sample of how it should look like.
nvm install 14.18.1
How to Switch to any Node version
Now you don't need to delete/uninstall any of your node version because in your subsequent project you may need that same version of node. All you have to do is to switch to the node version that suits your current project using the following command.
nvm use 14.18.1
Wrapping up
With nvm installed, you can now install, uninstall, and switch between different Node versions in your Windows.
Happy coding !